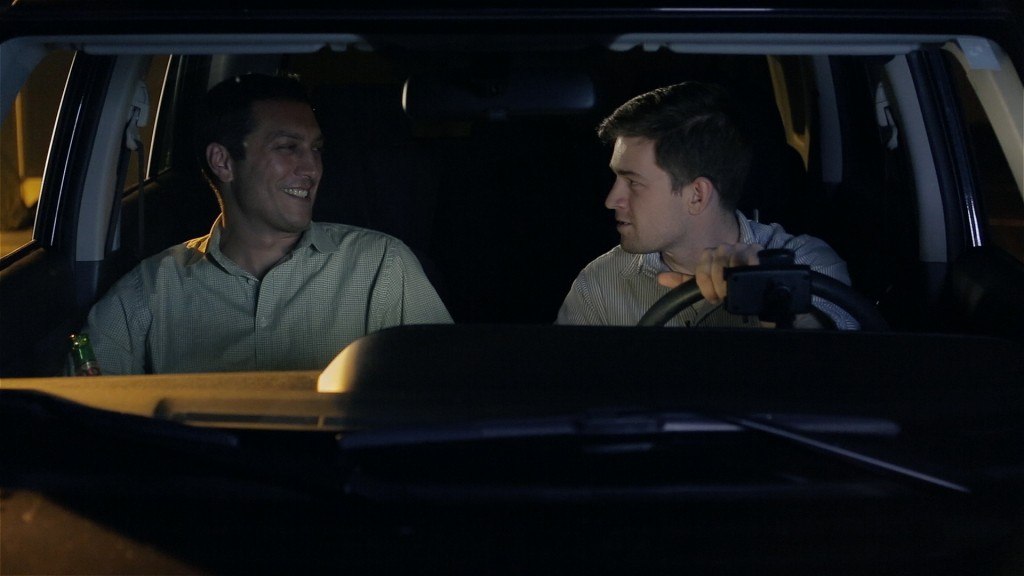
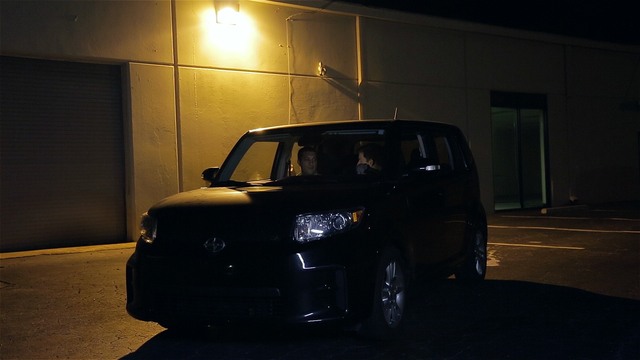
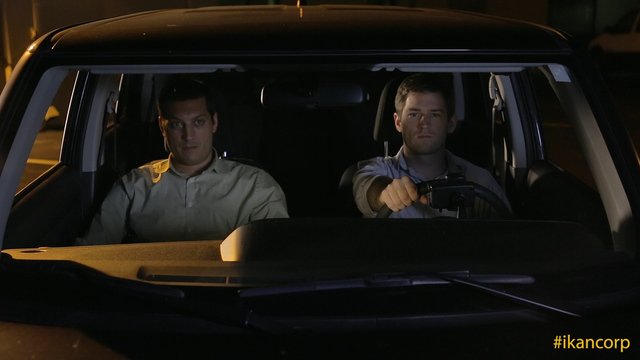
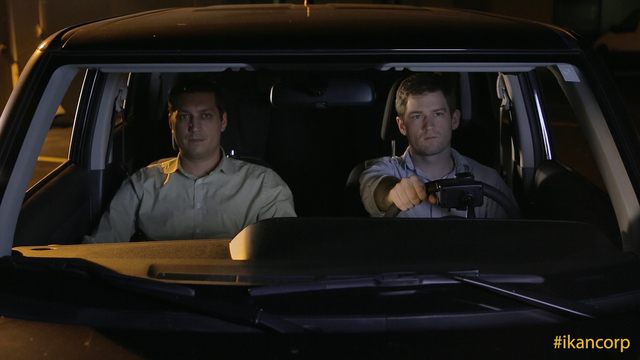
Ever found yourself drinking Dos Equis in your parked car at night asking your cousin what’s going on with his life? Well, if you haven’t, now you can vicariously live out that fantasy through our scene. And if you wanted to film it yourself, we can tell you how to light it. Lighting this type of scene can sometimes be tricky, particularly at night, when there isn’t much natural light to justify the lights needed to expose the scene. So the team at ECG Productions thought we should do a tutorial. We stayed late one night at our Atlanta, GA studio and made ourselves a little scene in the back parking lot. With a little acting help from our friend Joe Q and yours truly, we turned out a decent scene with some great lighting provided by our good friends at ikan. Make sure to watch the whole video to see the scene in it’s entirety!
HOW TO LIGHT A CAR WITH ikan AND ECG PRODUCTIONS
Here are the steps we took, and the ikan gear we used, to achieve this setup:
1) Take a look at the existing lights at the location.
You’ll want to see what natural light you have in the area that you can use as light to expose your scene, as well as lights you can use to justify the placements of your own lights; this is called sourcing. You’ll also want take note of the color temperature of the various lights, to make sure you match it with your video production lights. You can see below the warm colored street light in our scene.
2) Source the lights.
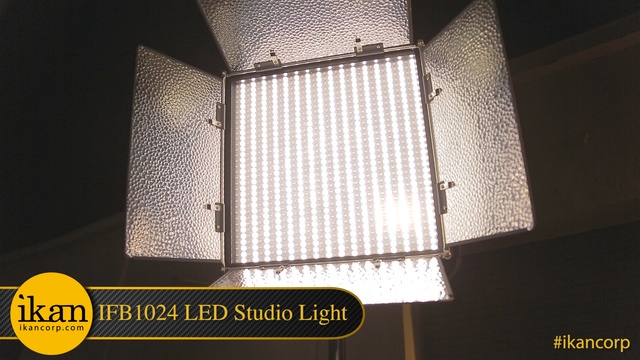
“Sourcing” is justifying the environmental light shown in the scene, but then enhancing it with more light by using your own video production lights. Of course, make sure that your production lights are never seen on camera! The first light we wanted to source was the building lamp behind the car. We set our ikan IFB1024 to 3200K to match the warm lamp on the building. We used an ikan 190 Wh Battery to power it all night.
3) Continue adding your lights for each source in the scene.
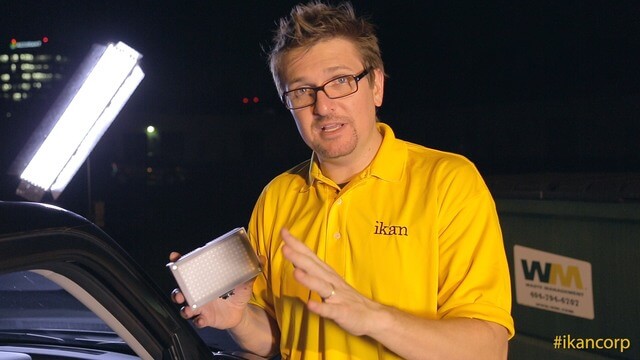
Next, used an ikan IDMX1500 to double as the moon. Here’s an interesting fact: There wasn’t much of a moon that night! But as long as you don’t see the moon in the shot, the audience would never know, so pump up that moonlight to get a good exposure for your scene. And make sure your light is colored blue like the moon. Thanks to the Dual Color Lights from ikan, blueing it up was a breeze. In this picture of our director Jason Sirotin you can see the IDMX1500 working as the moon in the background. Looks pretty lunar if you ask me!
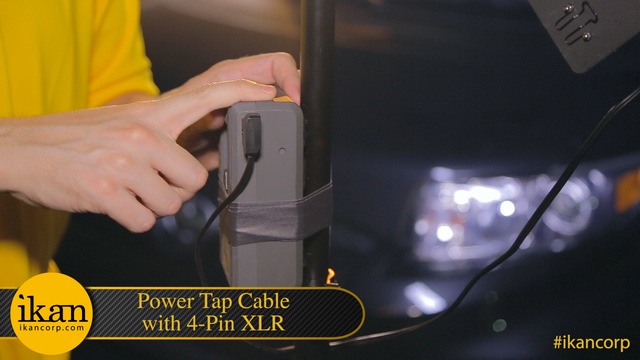
Special Note: One thing that made this setup so simple was the Power Tap with 4-Pin XLR cable we used to plug the ikan IDMX1500 into an ikan 190Wh Battery. We didn’t use any extension cords to power any of the lights. This makes it super fast to move lights when you need to, because you don’t have to worry about cables getting in your way. Oh, and during our three hour shoot, we never had to switch out any of the batteries either!
4) Add a light inside the car to double as dashboard illumination.
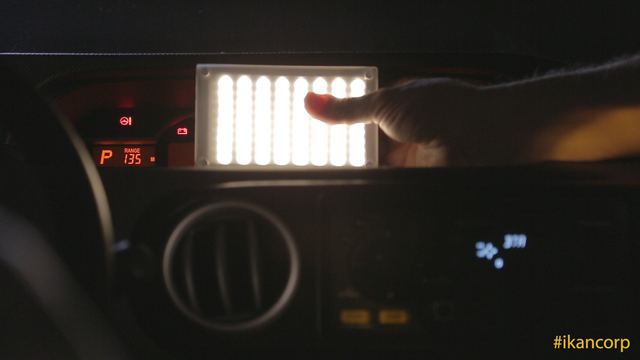
Most cars don’t give off enough light to see on camera, so you’ll want to place a small light by the dash to play on the actors faces from inside the car. To do this, we used the ikan iLED144. While we mostly use this as our on-camera light for shoots, it was the perfect size to fit right in the dash and stay out of the shot. And, again, the ability of this light to change color temperature allowed us to accurately portray the dashboard display color without gels. And guess what else? That’s right…batteries!
5) Add any other lights you need to balance the scene out.
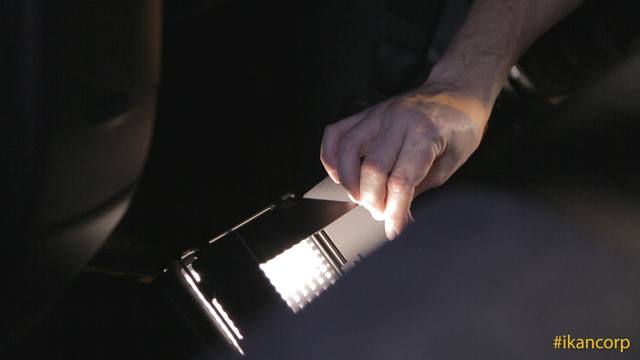
To even out the exposure and get more detail in the blacks, we added a little more light to the backseat using an ikan iLED312. Just a little bit, so we used the dimmest setting and closed the barn doors on the light so it wouldn’t spill everywhere in the car.
6) Take a look in the monitor and tweak as needed.
The “moon” (aka our ikan IDMX1500) was looking a little bit dim, so we moved it in, but then it was too bright, so we split the difference and it looked great. Who knew we could wield that much power over the moon?
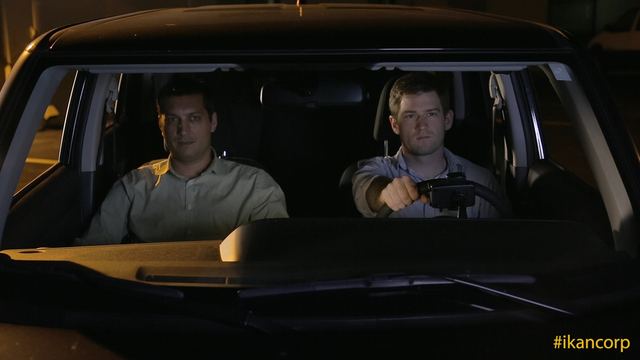
See the three pictures here. The top left has the “moon” too far away, the top right picture shows it too close, but the bottom left has it just right.
7) Shoot your scene!
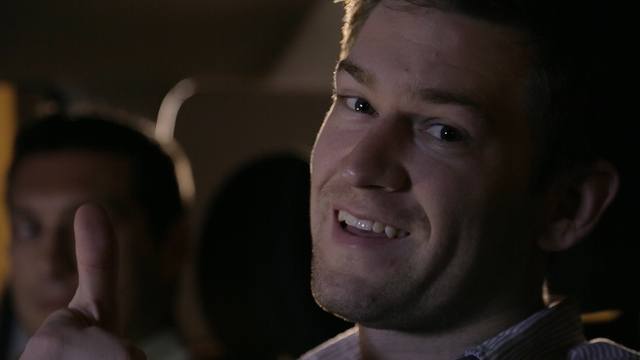
As you move angles, make sure you adjust the lights as needed for each individual shot. For my coverage (I’m the one in the driver’s seat) we had to move the ikan IFB1024, our “street light” just a bit to get a harsh shadow off my face.
I hope you enjoyed the tutorial and maybe learned a little something too! In the comments below, please let us know what tutorials you’d like to see next!
At ECG Productions, we do it all from tutorials to music videos to feature films. Whether you’ve got a concept in mind or you need us to help you develop one from scratch, we’d love to put our years of experience and skill with the moving image to work for you. Reach out to a member of our team today and get the conversation started! Happy shooting!
