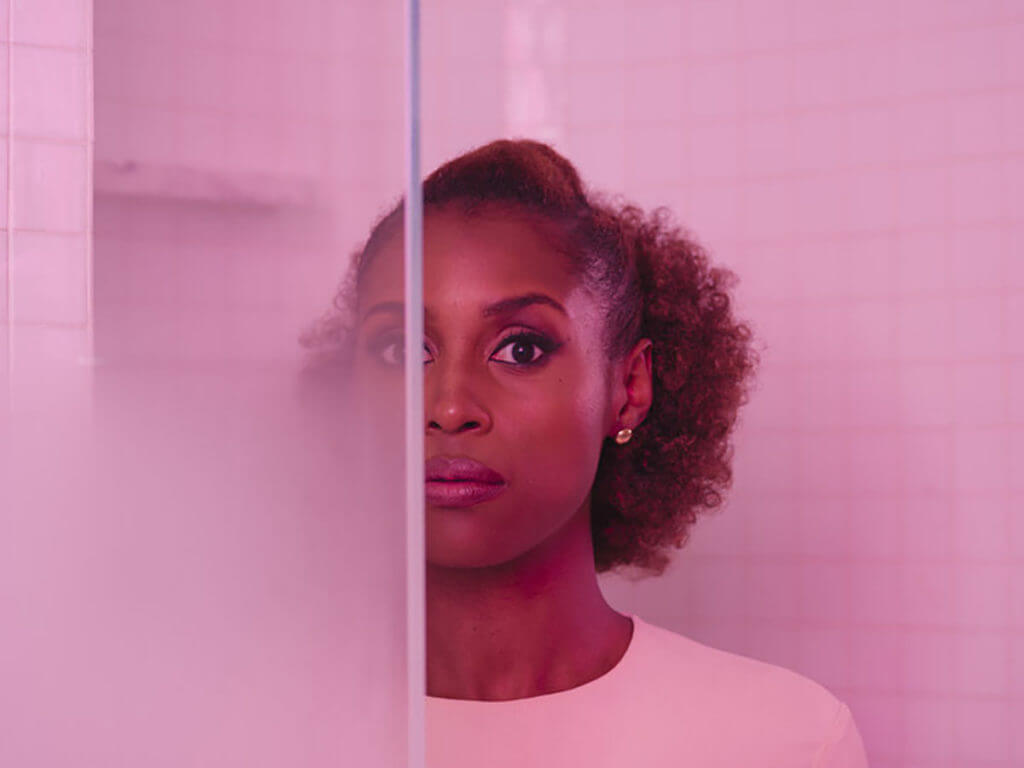
Recently, mic.com published an interview with Ava Berkofsky, the Director of Photography on HBO’s Insecure. This interview really resonated with me, for a few reasons. First: female DPs for the win! Second: the lighting on Insecure, especially Season 2, is noticeably phenomenal.

But what really resonated with me, more than anything else, was this quote: Ava, describing her experience in film school, said, “When I was in film school, no one ever talked about lighting non-white people.”
The article went on to talk about Kodak “Shirley cards,” (used to calibrate film cameras to properly expose a subject), which only featured white women for decades.
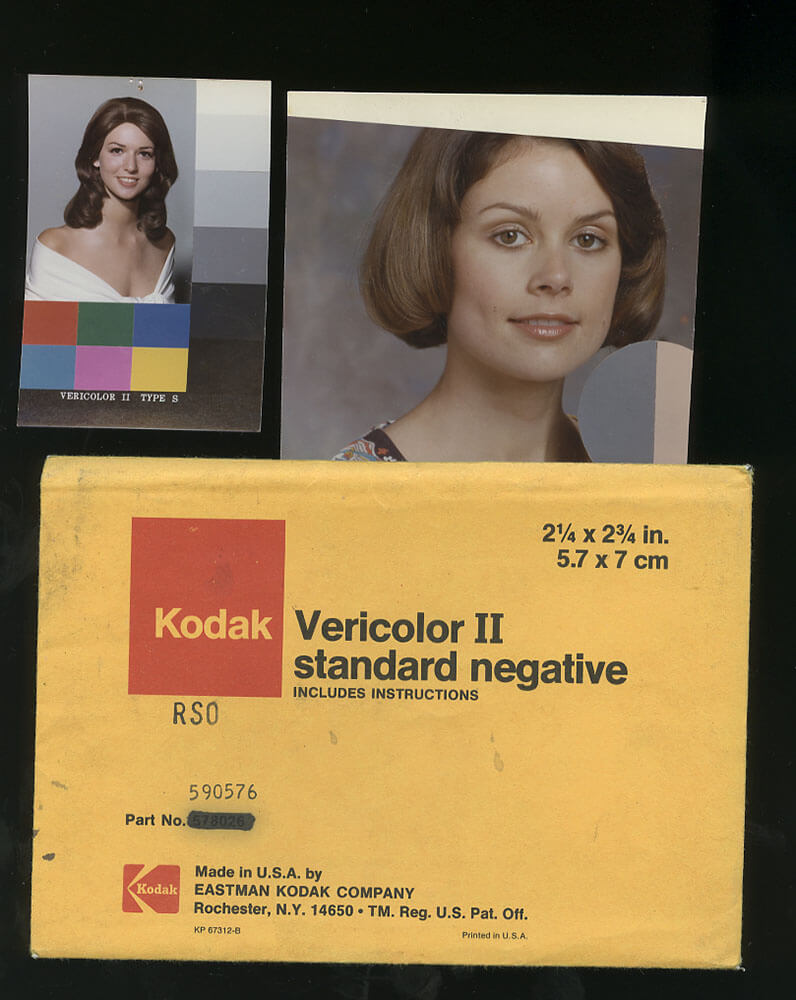
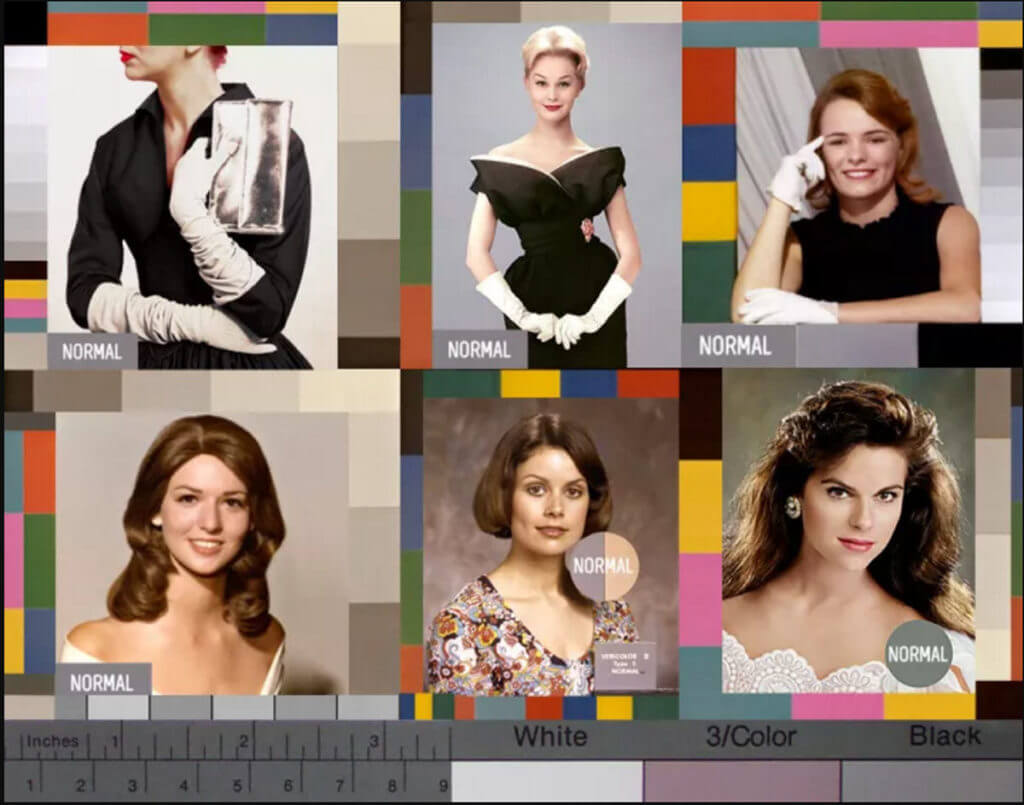
As a result, darker skin tones often didn’t render correctly. The first impetus for change: companies began complaining to Kodak that they couldn’t distinguish the difference in color between assorted wood products.
We could say a lot about this, on a lot of different levels, but let’s stick with the cinematography here. The fact of the matter is, with any image including actors, skin is going to be one of the most important elements of the frame. As such, a lack of understanding how various skin tones interact with and reflect light is putting a lot of cinematographers at a disadvantage. While any Director of Photography worth his or her salt can light a scene evenly, there’s a difference between just lighting a scene, and lighting it so that all shades of skin are flourishing to their full capacity.
The first step is recognizing that this is important – knowing is half the battle! The second step is learning some ways to apply it. I’m going to touch on a few tips from Ava Berkofsky, as well as adding some of my own from my experience as a DP. With some solid tricks in your arsenal, you’ll be able to make any skin tone in front of your camera flourish!
Tips & Tricks To Get You Started
1. Two words: unbleached muslin.
Ava mentioned this very briefly, but I swear by it! Unbleached muslin is one of the most under-utilized diffusion materials out there. I once read a cinematography forum post in which the writer said he had never worked with a Director of Photography that used unbleached muslin. Bleached muslin is significantly more popular; however, bleached muslin is better for lighter skin tones. From an aggregate standpoint, I personally feel that muslin yields especially beautiful shadows and wraps light around faces nicely. And the warmth that you get from unbleached muslin specifically gives brown skin a really aesthetically pleasing glow. That warmth is a little too much on pale skin, but on darker skin, it’s wonderful. Here’s a screen grab from a sci-fi / fantasy film that I DPed, where I used unbleached muslin to give the actress a warm, soft glow.

2. Add some flavor to your bounces.
One of my favorite items to take onto every set is my 48-inch disc reflector.
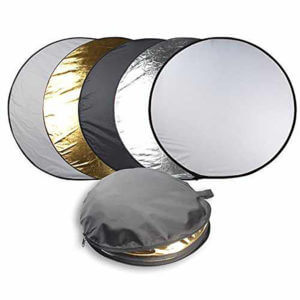
I’m sure every cinematographer reading this knows the value of a white bounce to fill in shadows; that’s a fairly standard practice. The thing that I love about this 4-in-1 reflector is that it gives me several different solutions in one item. I typically use the silver side when I’m outside and I need to bounce a hell of a lot of light into someone’s face to keep up exposure with bright, sunny surroundings.
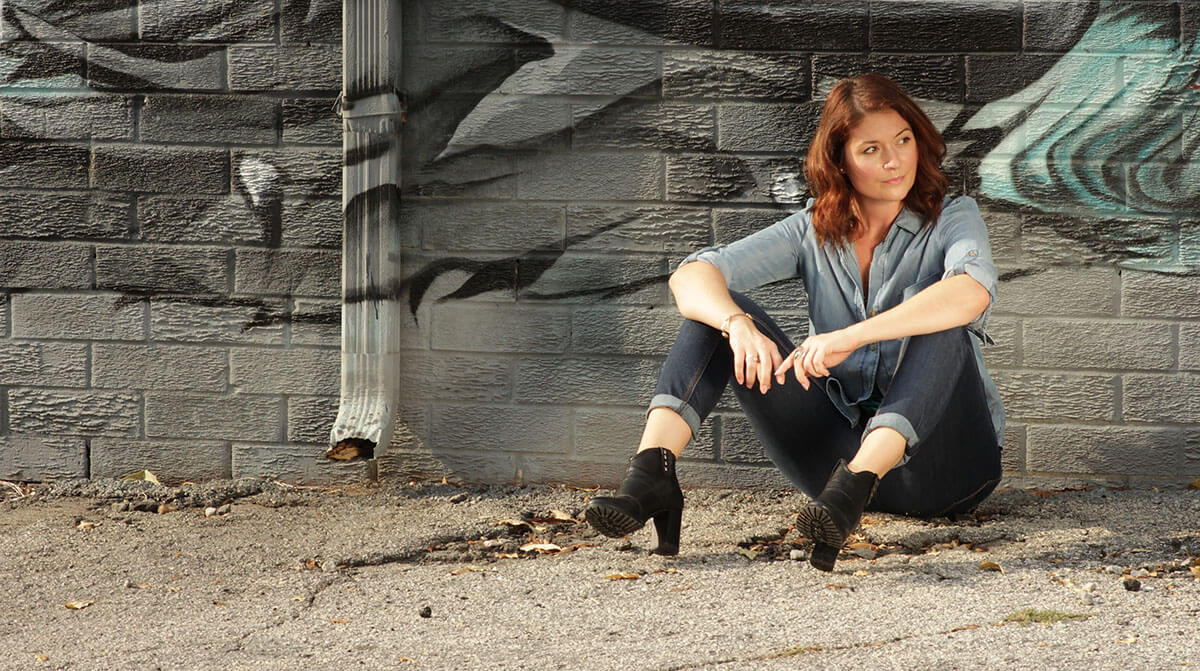
The gold side, however, is great for reflecting a pretty golden hue into brown skin and paler skin alike. I use it to make pale-skinned people look a little more tan (which they usually appreciate, lol); and also to bring a little more radiance into brown complexions. I placed a gold reflector to the right side of this image, which makes the subject look more tan, and also plays really nicely with her hair color.
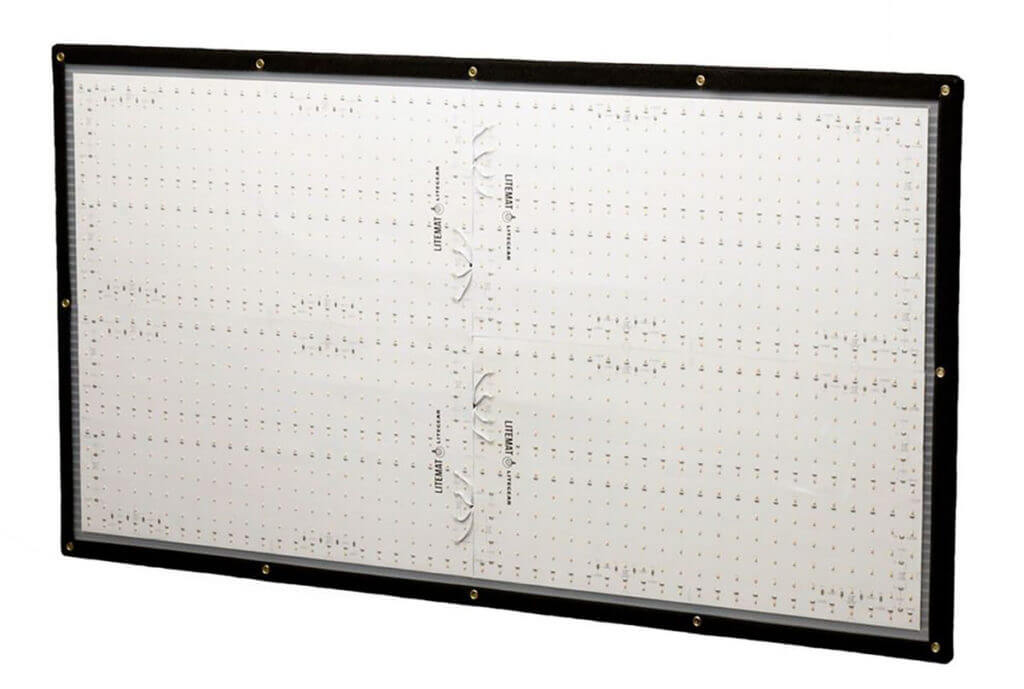
Ava Berkofsky also mentions the usefulness of bouncing light: on Insecure, she uses S2 LiteMat 4s, which are white bounces with little LED lights in them.
3. Filters!
In this day and age of “We’ll fix it in post,” some cinematographers neglect to take advantage of all of the tools available to them. Yes, you are probably using your standard, common filters (polarizers, NDs, etc), but there are so many more options out there! Brands like Tiffen and Schneider Optics offer a plethora of different filter choices, and each one is an opportunity to give your work a unique look.
Ava Berkofsky uses a standard polarizer filter to shape the amount of light reflecting on actors’ faces, the same way that you would use a polarizer to alter reflections on a window. Tiffen filters like ProMist, Black ProMist, Glimmerglass, and Satin can yield beautiful effects on different shades of skin (some are better for pale skin, some are better for brown skin). In the image below, I used a Tiffen Satin 2 filter, and an HMI with light CTO, to augment the rich, golden hue of her skin.

Now, go forth and multiply! (Your knowledge, that is.)
These are just a few tricks to get you started; however, don’t stop there! Skin is such an interesting texture once you start paying attention to it, and it comes in so many different hues. If you’re lighting them all the same way, you’re doing a disservice to your work. And limiting your creativity as an artist.
DPs, do you have any tricks that I didn’t mention here? Any addendums to what I did mention? General public, any examples of poorly exposed people of color in a film or TV show that drive you insane? Want to just talk about how much you love Insecure? The floor is yours!
