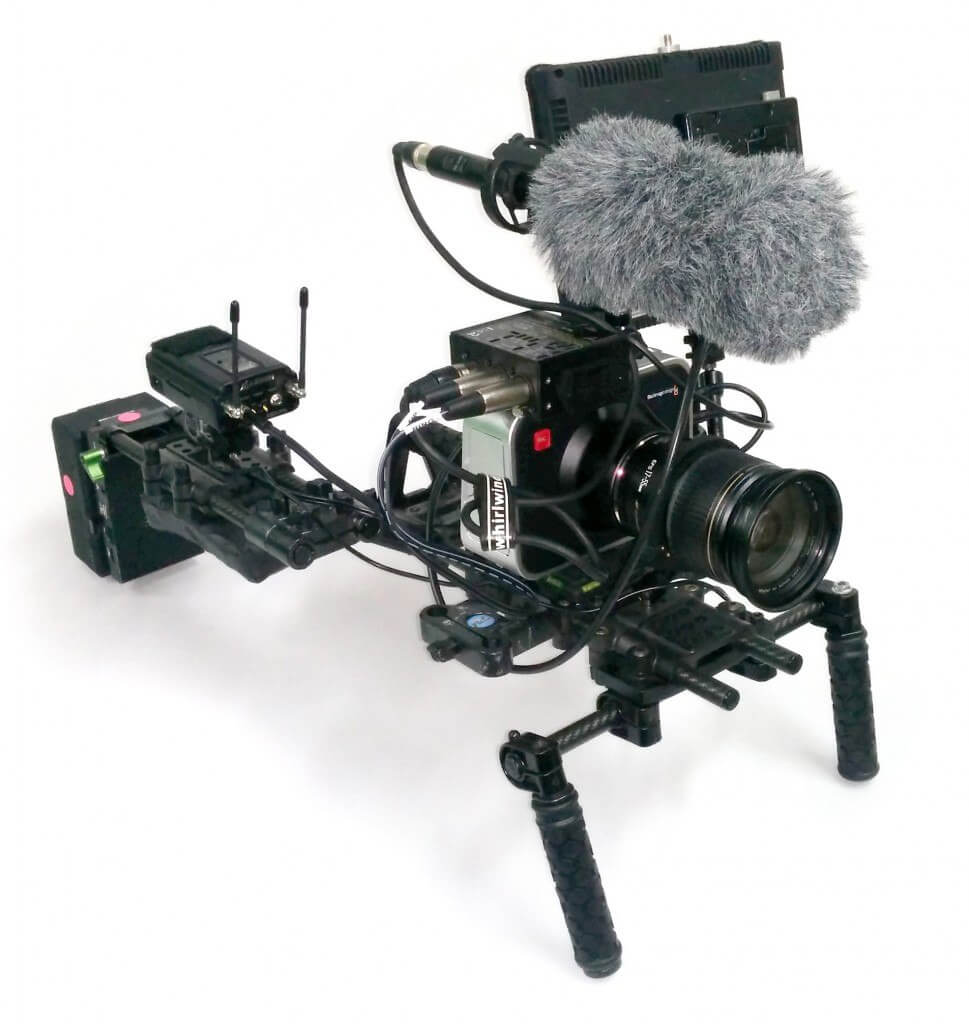
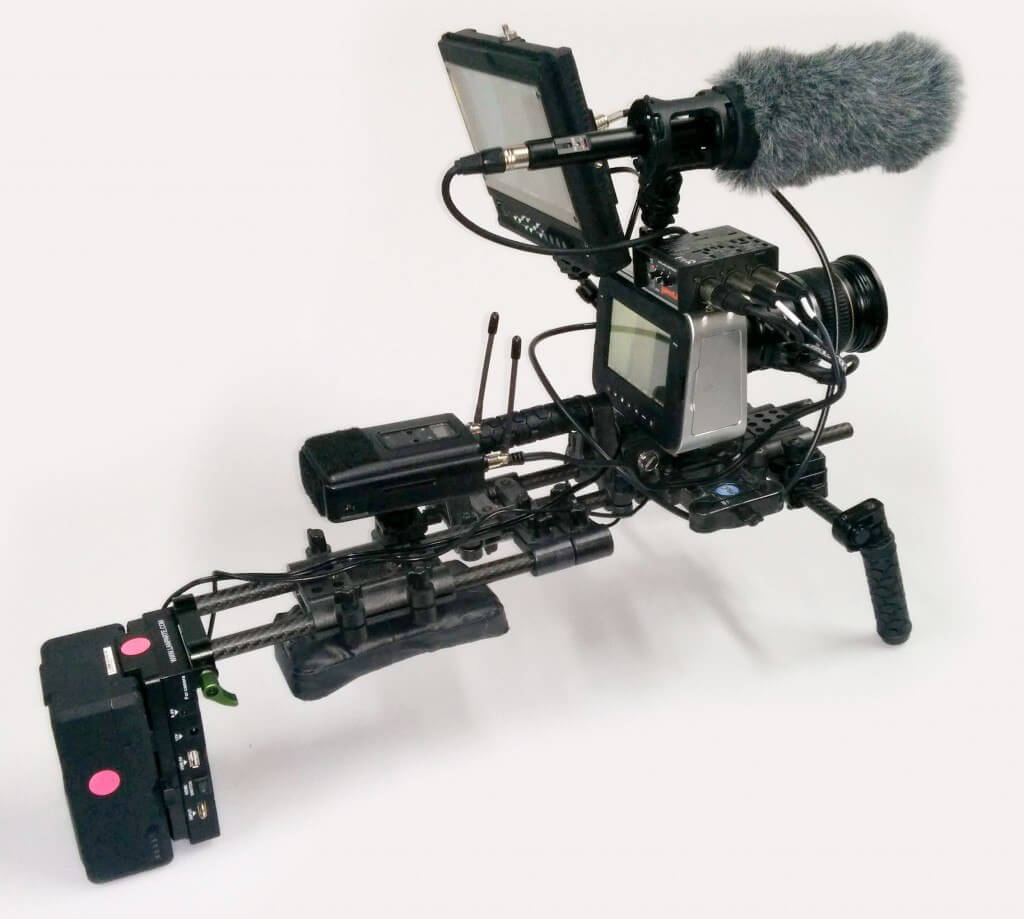
Let’s face it, the BMPC 4K is not a good run and gun camera. For that matter, neither is any DSLR or RED camera. Cameras with a modular form factor (such as the BMPC 4K) need rig support in order to maximize their potential. Therefore, with the proper rig, the BMPC 4K can function as a pretty nice run and gun camera (as long as you’re not shooting in low light). The key to building a good rig is to make sure that there is no dead weight. Essentially, every component of the rig should function to compensate for a feature that the camera is lacking natively. Otherwise, you will just be lugging around a big, heavy, useless rig and hating yourself for building it. Watch the video above to learn how I’ve configured my rig. For more details on the components I used for my BMPC 4K rig, continue reading.
FRAME
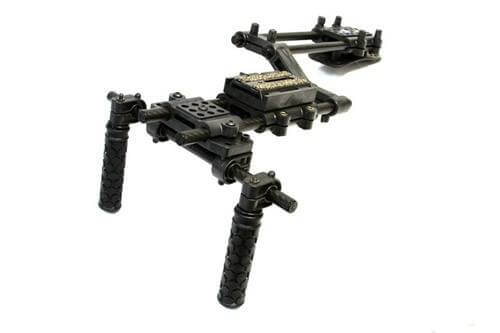
The BMPC 4K is not ergonomic if you’re trying to shoot handheld. So unless you love shaky footage and sore hands, you will need a proper rig frame. The frame serves the purpose of stabilizing the camera, distributing the weight, and providing attachment points for rig accessories. There are plenty of good skeletons to choose from. The key is to find one that is ergonomic for you and provides support for attachments. I like the frame to be as rigid and lightweight as possible because shooting can definitely wear you out over time. For this build, I chose a CPM camera rig because it uses carbon fiber rods and injection molded plastics so it’s strong, lightweight, and inexpensive. I also like that it’s a tool less design (thumbscrews) so making modifications or disassembling it for travel is quick and easy. I configured mine differently than what can be purchased standalone from the CPM Camera Rigs website. However, it’s basically just the Sidewinder Basic Offset Shoulder Rig with a handle kit and a Giottos MH621 quick release plate.
BATTERY SOLUTION
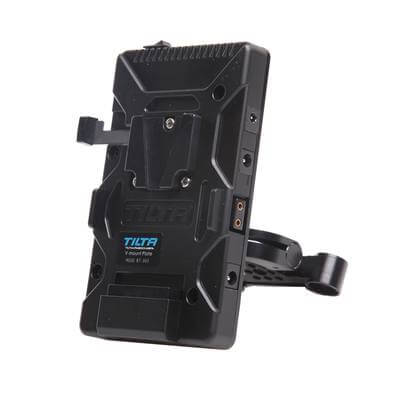
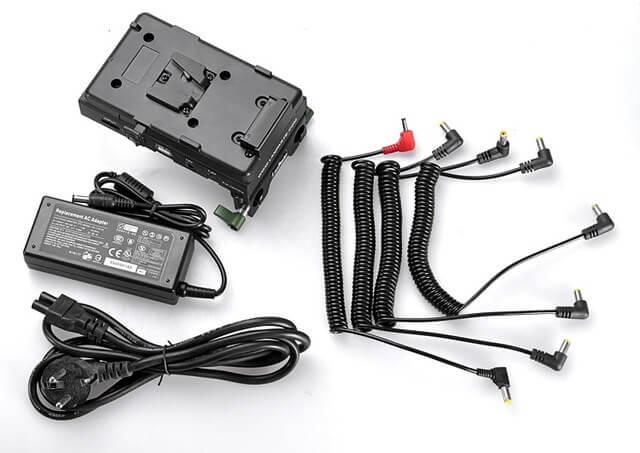
The BMPC 4K has terrible battery life (you’re lucky to get an hour’s worth). Even worse, it’s an internal, non-removable battery which would make run and gunning with it nearly impossible. Fortunately, there’s a rig solution for this problem. With a battery power supply adapter, you can run a 12v to 12v or p-tap to 12v cable from the power supply into the camera. I use a LanParte power supply adapter but I think the Titla one is better. At the time I bought mine, the Tilta model was not out yet.
BMCC Power Supply System with 15mm Adapter (Tilta)
Lanparte Power Supply Adapter V-Mount:
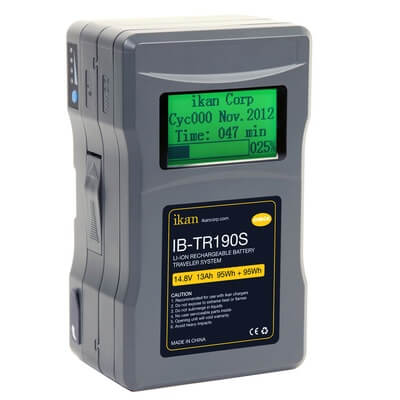
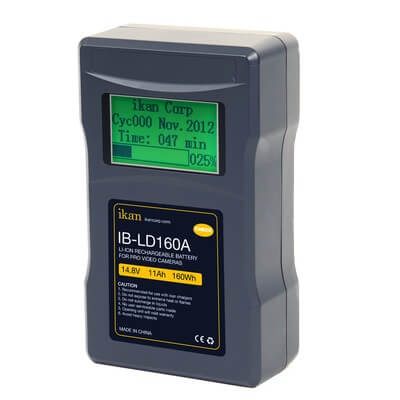
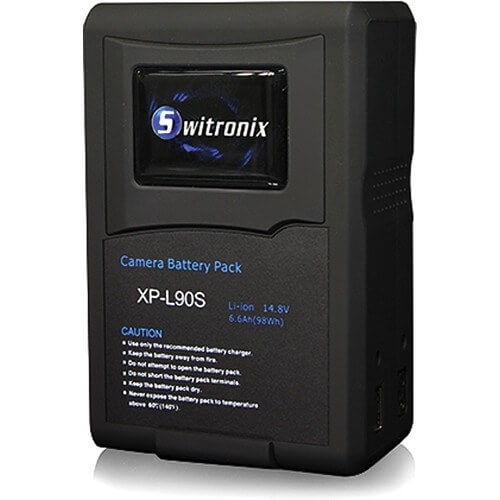
These particular battery power supply models are for V-mount batteries (they can be purchased in AB mount as well if you already have a supply of AB batteries). When it comes to professional batteries (V-mount or Anton Bauer) the Wh rating determines the capacity of the battery. The higher the Wh capacity, the longer it will last. Keep in mind that if you intend to fly with these types of li-ion batteries, the FAA will not allow a battery with a Wh capacity of greater than 100Wh to fly. Therefore, if you plan to travel with them, make sure not to get the larger 160Wh batteries. If you do want to travel with a big one, you can get the ikan 190Wh batter because it splits into 2 separate 95Wh batteries. These batteries allow you to power your rig (the BMPC 4K as well as a field monitor) for 4 hours or more (depending on the Wh capacity and the field monitor used). A battery solution like this allows your power hungry BMPC 4K to have the energy to shoot for hours on end; enabling it to be a run and gun workhorse. Here are some good V-mount batteries to choose from:
ikan 190Wh 2-Piece Professional Battery w/ Display
ikan IB-LD160 / 160Wh Professional Battery w/ Display
Switronix XP-L90S 90Wh V-Type Lithium Battery
LENS
For me, the biggest disappointment with the BMPC 4K is that it sucks in low light. When it was first announced, everyone expected the BMPC 4K to perform better in low light than the BMCC since it has a much larger sensor. Most super 35 sensor video cameras are great in low light. The Canon C100/C300, the Sony FS100/700 all have super 35 sized sensors that perform amazingly well in low light. So it stood to reason that the super 35 sensor in the BMPC 4K would perform better in low light than the BMCC. Unfortunately, the opposite occurred and the BMPC 4K ended up performing much worse in low light than it’s smaller sensor predecessor, the BMCC.
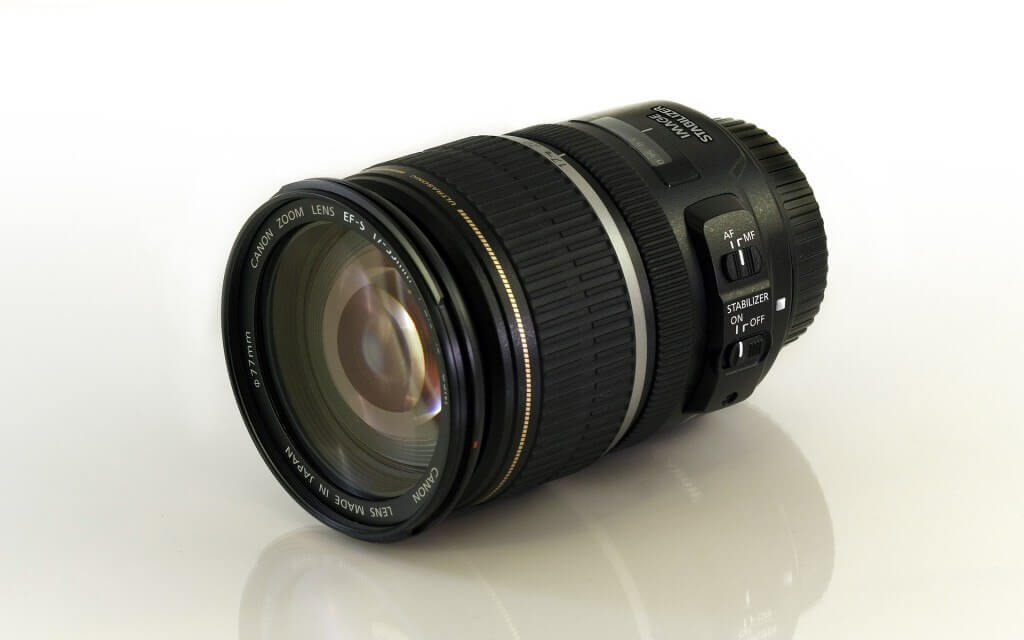
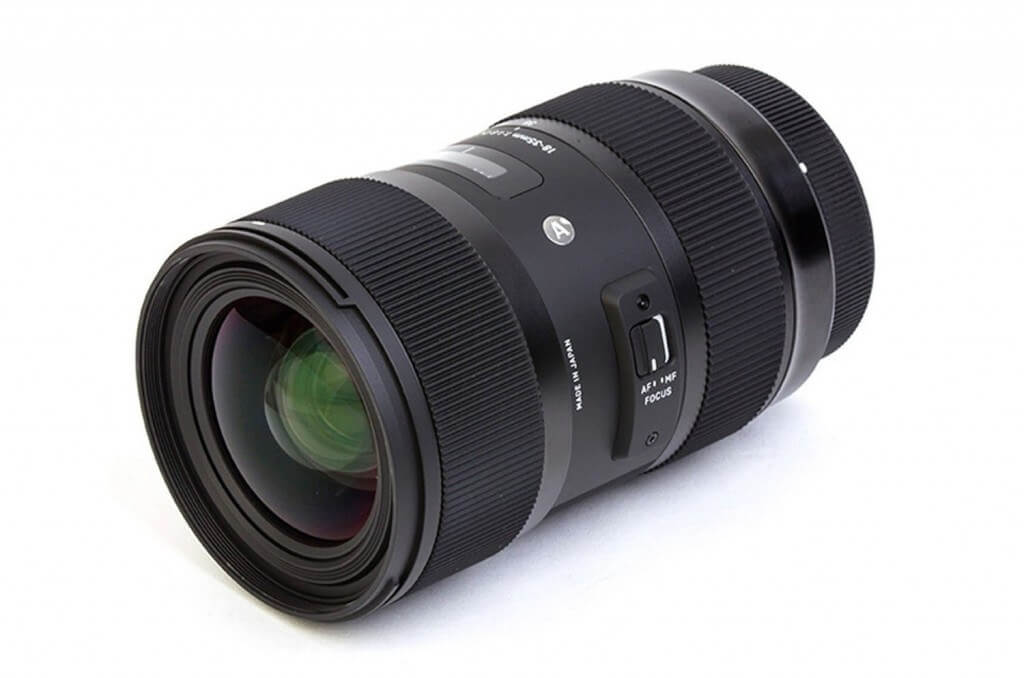
Fortunately, there are 2 ideal lenses for run and gun use with the BMPC 4K. These lenses are:
Both lenses have constant apertures which is essential for run and gunning because they don’t darken as you zoom in and out (assuming you are shooting wide open). They are also fast and sharp. For the BMPC 4K, I prefer to only use lenses that are F/2.8 or faster because you will need to capture all of the light that you can with this camera. I find shooting with the Canon 17-55mm F/2.8 to be eerily similar to shooting with the Canon 24-105mm F/4 attached to a Canon 5D mark iii. Since the BMPC 4K has a crop factor of 1.7x, the Canon 17-55mm lens will give you a field of view of equivalent of 24-94mm on a full frame sensor. Moreover, since a full frame sensor yields more shallow DoF images than a super 35 sensor, the DoF at F/2.8 with the 17-55mm on the BMPC 4K looks very similar to the DoF at F/4 with the 24-105mm on a 5D. Lastly, both the 17-55mm and the 24-105mm have image stabilization so shooting with the Canon 17-55 F/2.8 on the BMPC 4K really is almost the exact same experience as shooting with the 24-105 F/4 on the 5D mark iii. The 24-105 is my favorite run and gunning lens for the Canon 5D mark iii so the Canon 17-55 is the way to go when it comes to run and gunning with the BMPC 4K.
I’ve read great things about the Sigma 18-35 F/1.8 but I decided to get the Canon 17-55 F/2.8 because it has a better zoom range as well as image stabilization, which I find more important than brighter maximum aperture when run and gunning. However, if you really want that fast speed of the Sigma F/1.8 then it would be a great choice as well, especially since the BMPC 4K sucks in low light.
AUDIO
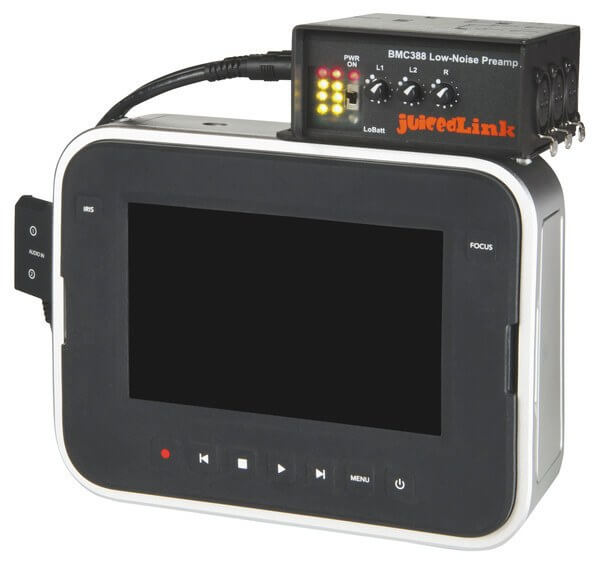
The BMPC 4K certainly has improved audio vs it’s predecessor, the BMCC. However, it’s still not professional grade because it doesn’t provide phantom power and the preamps are quite weak. Also, the current firmware does not provide a way to monitor audio levels with VU meters. The best solution to alleviate all of these products is to use the JuicedLink BMC388 PreAmp.
The BMC388 is specifically made for Blackmagic Cameras so it works great and it displays audio meters on the front of the unit next to the pots. This makes it very convenient and easy to mix audio on the fly. The audio quality is fantastic since it has very powerful and high quality preamps. It also has all sorts of professional switches to configure the unit specifically for the needs of your shoot i.e. phantom power, audio bracketing, hi/lo gain, mic/line level, etc. The BMC388 really is the perfect companion for the BMPC 4K, whether you’re running and gunning or if you’re on set and you want to feed professional quality audio straight into the camera. I leave my unit attached to the camera at all times since it is lightweight and fits snugly to the camera.
MONITOR
The BMPC 4K has a 5 inch 800 x 480 display. However, it’s not very high quality. The viewing angles are really bad, the colors are inaccurate, and it’s near impossible to use outdoors or in a bright environment. It’s certainly possible to use it and get good results, but it can be a hassle. I prefer to use a professional field monitor along with the BMPC 4K display because it makes life easier. There are many great field monitors out there. Most of them provide better viewing angles, brighter displays, accurate colors, higher resolutions, and more features (such as waveforms, false colors, pixel to pixel, etc.) than the onboard display on the BMPC 4K. My favorite thing to do while run and gunning with the BMPC 4K is to double tap on the onboard display to view critical focus and leave it in that view. By doing this, I can use my field monitor as my primary display and then glance over to the onboard display to view critical focus. This make pulling accurate focus very efficient, which is crucial when running and gunning. I currently use an ikan D7w or a Marshall V-LCD90MD monitor with my rig and I love them both. There are plenty of great monitors out there from Marshall, SmallHD, TVLogic, and so on. Even external recorders are starting to get really nice displays so it can make a lot of sense to spend a little bit more in order to have the option to record externally (in case you have the need to). The upcoming Atomos Shogun and the Convergent Design Odyssey7 have great displays. If you’re looking for a field monitor with full HD resolution, Marshall just announced the V-LCD71MD and ikan has 2 really nice offerings coming soon with its VX9i and DX5.
RIG PARTS
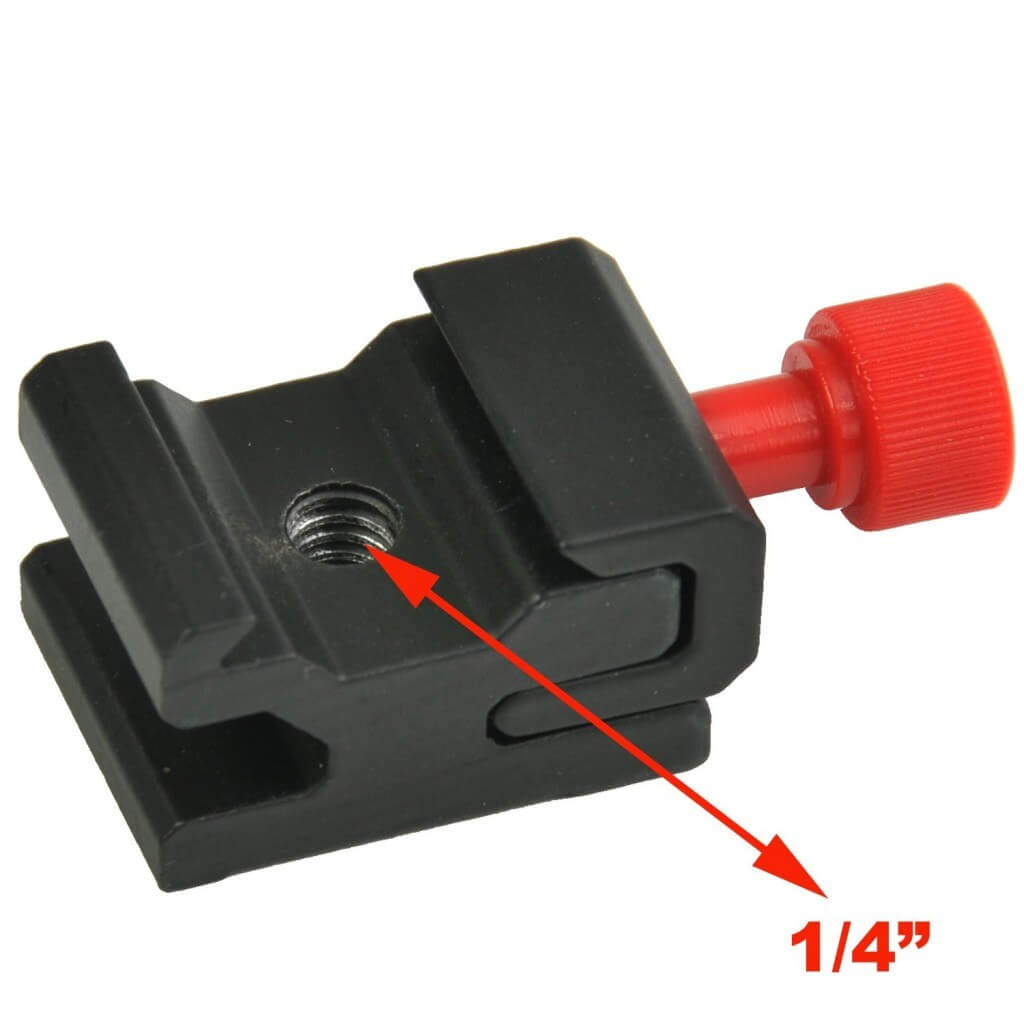
There are all sorts of small components and hardware that you will likely need in order to complete your rig build. Here are some of my favorite rig parts to use with a BMPC 4K rig:
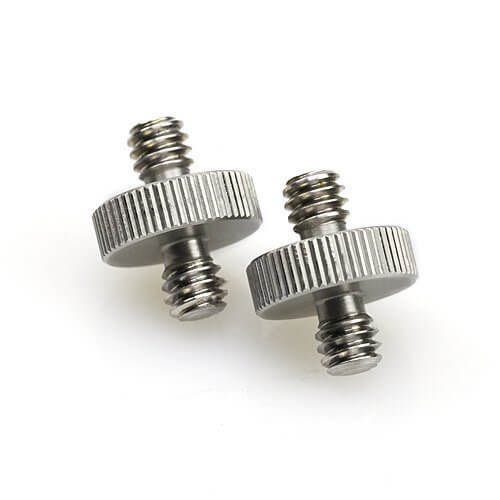
1/4″ Male to 1/4″ Male Threaded Screw Adapter

CONCLUSION
Building a rig that fits your body well and offers all of the features you need takes a lot of time and tinkering to get it just right. I don’t think a rig is ever truly complete, it’s like software, it can always be better by upgrading it. Therefore, the key is to accept this fact and treat rig building like a hobby because it can be quite fun and rewarding. The BMPC 4K has it’s shortcomings, but considering the low price tag of $3K, it really does have a lot to offer. Especially since many of it’s shortcomings can be rectified by building a good rig around it. I hope that you find this rig building tutorial/buyer’s guide useful. Let me know if you have any questions or comments. Thanks!

5 Responses
Terrific tutorial, Brandon! Thanks very much for taking the time to share your knowledge. I briefly owned the BMPC4K, but had to return it due to its low-light performance. Even with a fast lens, I wasn\’t getting what I needed. That said, I adore my BMCC, and this tutorial is still quite helpful. Forgive what might be a dumb question about your battery solution, but in your video, you mentioned plugging both your camera AND your monitor into your V-Mount plate. However, when I looked at both plates, it looks like neither of them offer multiple 12v jacks. How did you manage to power two 12v devices? I need to power my BMCC, my trusty Marshall monitor, and possibly even my Zoom recorder… but I don\’t see a way to do that off one battery. Any thoughts? Thanks again!
Hi Taz. The Lanparte plate has 2 12V outputs (1 on each side). Moreover, Blackmagic cameras require a minimum 12V but many monitors require less (for example the ikan D7w requires 7V minimum). Most battery power supply plates will have 12V as well as 7V, 8V, 15V etc. So you could power the camera with a 12V or 15V and power a monitor with a 7V, 8V, or 12V. Also, you can use a p-tap to 12V cable if you don’t want to use one of the coax 12V outputs on the battery plate. Therefore, you should be able to power all of your devices, even your zoom (if you use a p-tap to 12V for your camera). If you don’t want to use a p-tap to 12V cable then the Lanparte is probably your best bet because it has 2 12V outputs and 5V for your Zoom. If you like the Tilta battery plate and you then it’s a great option because it comes with a p-tap to 12V cable (these cables usually cost $50 if you buy them separately). Just check the voltage ranges on your devices and make sure there are compatible voltage outputs on your battery power supply adapter plate. Hopefully this info helps. Thanks!
Hi Brandon! What an excellent tutorial. Just what I was looking for for my BMCC. I do have a couple questions about audio. What kind of boom mic did you mount to your rig? I’m currently working with a Rode NTG2 and Zoom H4N recorder. Not getting great levels and I heard that’s common when combining the two… Does the BMC388 work well with the BMCC 2.5K version as well? Thank you for putting this page together! I think I could learn a lot here.
Hi Robert. I use either a Sennheiser ME-66 or Sennheiser MKH-416. The ME-66 has a built in AA battery for phantom power so I like to use it if I’m on a really long shoot where boom audio is secondary and Lav is primary because that way I don’t have to supply phantom power from my BMC388. Without supplying phantom power from the BMC388, one 9V battery will last about 4 hours or more. If the BMC388 is set to provide phantom power then the battery only lasts a couple of hours. As for the Zoom, it has really crappy preamps compared to the BMC388. The Zoom is designed more to be a recorder than an amplifier. The BMC388 works great with a BMCC 2.5K. They did improve the audio signal on the BMPC 4K which means that you only need to set the Mic Level input levels on the camera to between about 5 to 10 to get a really strong and clean signal. Whereas on the BMCC 2.5K I’ve read that you need to set it to around 80 in order to get a loud enough signal. The key to getting good audio is to let the highest quality preamp in the chain handle as much of the amplification as possible (in this case the BMC388) then set the camera preamps as low as possible (which is why the BMPC 4K can sound so good because it only needs to be set to level 5 out of 100). However, even if you have to set it to 80, you can still get good sound, it’s just that your noise floor won’t be as clean. The BMC388 has the most powerful preamps out of any of it’s competitors so you’ll have to experiment with it yourself to see exactly how low you can get away with setting your camera preamp levels. Also, the mic used plays a factor. I know the the Rode NTG-2 doesn’t have as much reach as the Sennheiser ME-66 or MKH-416 which means that it will require more amplification in order to sound loud enough. Hopefully this helps. Thanks!
hi Brandon … a great review cleared up a lot of things … very helpful …
im getting a blackmagic production 4k camera … but i dont know what additional equipment to get with this not looking for something too high end or expensive but reasonable enough for my commercial shoots, music videos n independent films that i have planned to shoot … im not sure which rig to get … dont do a lot of run n gun thing … could you please help me with what to get n what not to get … like types of lenses as you stated in your review about canon 24-105 …
i’d be grateful …